- #CraftWithBostik
- Holidays
- Seasonal
- Home Décor
- Things to make
- Wood
How to make your own advent calendar

Counting down to Christmas is something we can all enjoy, regardless of age. This year, we challenge you to make your own advent calendar by upcycling everyday household materials such as wood, cloth, and string, to create a DIY Christmas calendar that's completely unique and better for the planet!
We've chosen to go for a neutral, boho advent calendar design, but you can easily jazz it up with colourful cloths, twine, and card so that it fits your festive aesthetic.
So, if you're looking for DIY advent calendar ideas, you're in the right place. This step-by-step tutorial will guide you through eight simple steps to transform everyday objects into the homemade advent calendar of your dreams.
Tutorial overview
What you will need
- A wooden beam or stick (at least 60cm long)
- Sandpaper
- Cloth
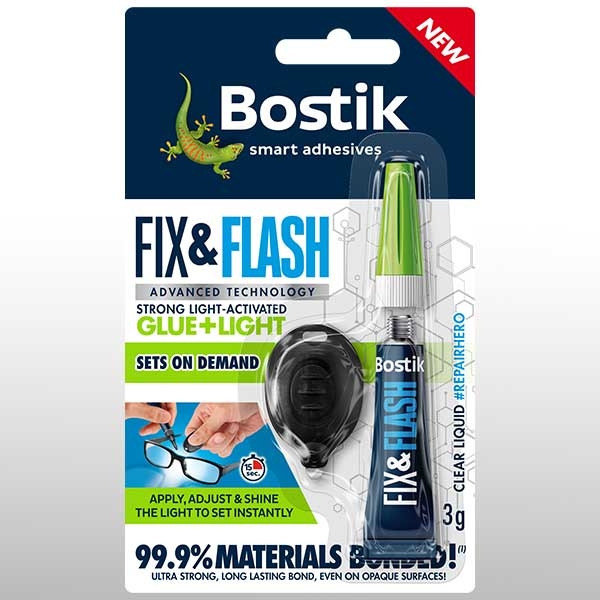
- Fix & Flash, light-activated glue
- Card or paper
- String lights (also known as fairy lights)
- 24 small clothes pegs
- 1 x roll of twine
- 1 x roll of white cotton string (approx. 1 metre)
- A marker
- Ruler
- 1 x hole punch
- Scissors
Optional
- Small saw
- Gloves
- Safety goggles
- Fabric scissors
Disclaimer
We have launched a new and improved version of Fix & Flash. Please note this guide was created using the previous model but is still suitable for the new version. Browse the new Fix & Flash today.
Step 1 involves using scissors or potentially a small saw. We strongly advise an adult to complete the cutting and safety equipment such as gloves and goggles can be used, if necessary.
Step 1: Cut the wooden beam or stick
To create your own advent calendar, start by carefully cutting the wooden beam or stick to about 60cm. You can choose to upcycle an old plank of wood or pick a fallen stick when out on your winter walks.
Once cut, gently sand the ends using sandpaper to remove any sharp edges and create a smooth finish.
Step 2: Attach the white cotton string
Using a marker pen and ruler, measure 15cm on your white cotton string. Then, apply a blob of Fix & Flash glue to the end of your wooden stick and press the white cotton string into the glue where you added your mark. Take care so that you don't get any glue on your fingers and if you do, wash with water.
Turn the Fix & Flash device on and shine the light onto the applied glue for 15 seconds to secure it in place. Continue to wrap the white cotton string around the length of your piece of wood and regularly apply dots of Fix & Flash glue across the beam, shining the light onto the glue to set it in place. Continue until the entire beam is covered with the white cotton string.
Then, measure and mark 20cm along the other end of your cotton string and cut it at this point.
Step 3: Make two loops
Using the excess string on both sides of your beam, tie knots to create loops which will be used to suspend your calendar once finished.
To ensure your loops are extra secure, apply Fix & Flash glue to the join of your loops and set in place with the light. .
Step 4: Glue the pegs to the beam
Now that the base of your DIY Christmas calendar is complete, glue the small clothes pegs to your creation using Fix & Flash.
You'll need to space the pegs evenly across the beam so that you can fit 24 pegs in total. We recommend using a ruler to mark out where the pegs should go. The first peg should sit at the one end of the beam and each peg thereafter should be 2.5cm apart.
Step 5: Cut the cloth
Cut 24 squares out of the cloth at around 13cm x 13cm. However, each piece of cloth simply needs to cover your chosen treat that'll sit inside, so make this as big or small as you require.
Remember, you can choose whichever colour or pattern cloth you'd like - we chose a white cloth to stick with a 'boho advent calendar' theme.
Once your cloth is cut, place sweets or other surprises of your choice in the centre of each square.
Step 6: Make the number tags
Next up, prepare 24 number tags by cutting small rectangles out of card or paper. We chose brown paper for a neutral effect, but you can go bright and bold or choose subtle pastels depending on your taste.
Once cut, punch a hole on one side of the tag and write numbers 1-24 using a marker.
Step 7: Create the 24 pouches
Wrap the cloth up around the sweets to form pouches. Using around 20cm of twine or coloured string, make a knot around the pouch to secure your goods in place. Then, tie the two ends of string together to create a loop.
If required, cut any excess fabric from each pouch, carefully avoiding the twine, to neaten the pouches.
Repeat this step for all 24 pouches.
Step 8: Hang up the calendar
Once your pouches are ready, clip each of their string loops to the pegs on your wooden beam.
We suggest mixing up the numbers so that they do not sit in chronological order. This will make it more enjoyable when trying to find the right sweet each day, especially if you've created this DIY Christmas calendar for little ones!
Finally, hang your homemade advent calendar on the wall using the loops created in step 2. Ta-da! You've now learnt how to make your own advent calendar, just in time for the Christmas countdown.
Tip
Fancy adding even more magic? Attach fairy lights to your homemade advent calendar using Blu Tack®, which is great for temporarily fixing things in place.
We suggest using Blu Tack® White to blend into white walls and match the white string, or stand out with Blu Tack® original blue, pink, or grey.
Related tutorials
See all tutorials
How to create a DIY cake stand or homemade vase
When hosting a party, having a show-stopping centrepiece is a must for many. Explore how to make your own cake stand or DIY vase so it can be the talking point of the table at your next gathering.
How to make your own pendant light
Fancy upgrading your lighting quickly and easily? For this tutorial, we're focusing on upcycling old materials to create a neutral, boho pendant light shade that'll suit any aesthetic. Learn how to…
How to make a DIY plant frame
Plants and flowers are perfect for bringing the outdoors into your home, breathing life and colour into the space. But often, real plants and particularly flowers can have a short lifespan if not…
How to create reverse prints using Blu Tack®
Follow this step-by-step tutorial from our friends at Craft Invaders and discover how to create DIY art prints through inverse printing.
How to create your own DIY ceramic plant pots
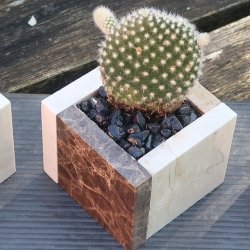
Need a new home for your cacti? Discover how to create your own plant pots in just a few steps with this guide in collaboration with Craft Invaders.

How to create a DIY sun mirror
Follow our simple, four step guide to create this boho-inspired gold sun mirror and cheer up plain walls in a unique, yet stylish way.

