Make your own Halloween monsters using our printable template

To celebrate the spooky season, make your own Halloween monsters and transform your home into a haven of horror. This is a super simple Halloween paper craft, perfect for all ages. Let us guide you step-by-step to create these creepy faces…
Using our Halloween monster template, you can transform a white piece of a card into your unique take on Frankenstein, Dracula, or a wicked witch. The perfect addition to a windowsill, side table, or shelf, or to decorate a table at your annual Halloween get together.
Grab your pens and paints, it's time to get spooky!
Related products
SEE ALL PRODUCTS
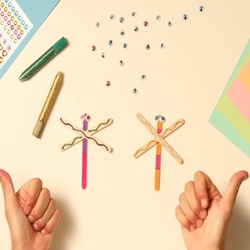
3 simple things to make with lolly sticks
Discover our simple things to make with lolly sticks including a DIY bookmark, a DIY dragonfly from wooden craft pegs & a DIY magnet from coloured lolly sticks

4 super easy children's craft ideas to do at home
Explore 4 easy craft ideas for your children to do at home. From handmade greetings cards, to decorating cardboard boxes, to photo frame crafts & DIY window crafts
6 easy glitter glue craft ideas
If you're looking for arts and crafts projects with glitter glue, you've come to the right place. We have 6 super simple glitter glue craft ideas for you using Bostik Glitter Glue Pens.

6 steps to create a DIY flower candle holder
Flowers and candles are two of the most popular home accessories used to bring life and colour to indoor spaces. Discover how to create your own floral candle holder using our innovative light…
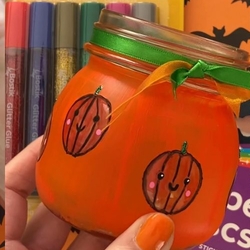
How to create DIY Halloween jar lanterns
Need some easy Halloween craft ideas? Discover our step-by-step guide to create DIY Halloween jar lanterns. Great for the planet by upcycling jam jars or mason jars, and is the perfect way to bring…
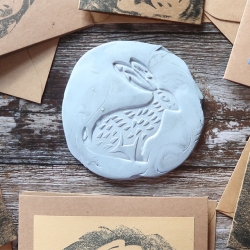
How to create reverse prints using Blu Tack®
Follow this step-by-step tutorial from our friends at Craft Invaders and discover how to create DIY art prints through inverse printing.
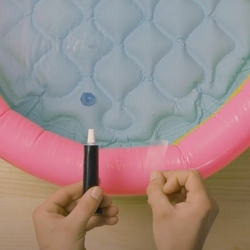
How to repair a child's paddling pool using plastic glue
Our 6 step guide for how to fix a tear in inflatable pool using vinyl repair glue. Soft Plastics glue is our best glue for plastic child’s paddling pool repairs
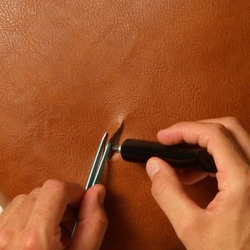
How to repair a leather sofa cushion
Discover how to repair a leather sofa cushion with our step-by-step guide and our best glue for leather sofa repairs.