- How To
- #REPAIRHERO
- Repairs
- Hard Plastics
How to repair a plastic toy
We've all been there as a child – you break your favourite toy and are left with no option but to throw it away. Thankfully, your children don't have to experience the same disappointment of throwing their treasured item in the bin. Instead, a drop or two of Bostik's best glue for plastic toys can help.
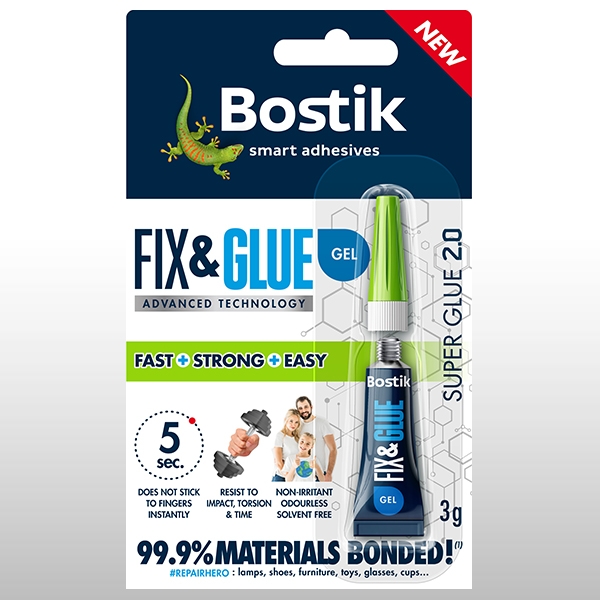
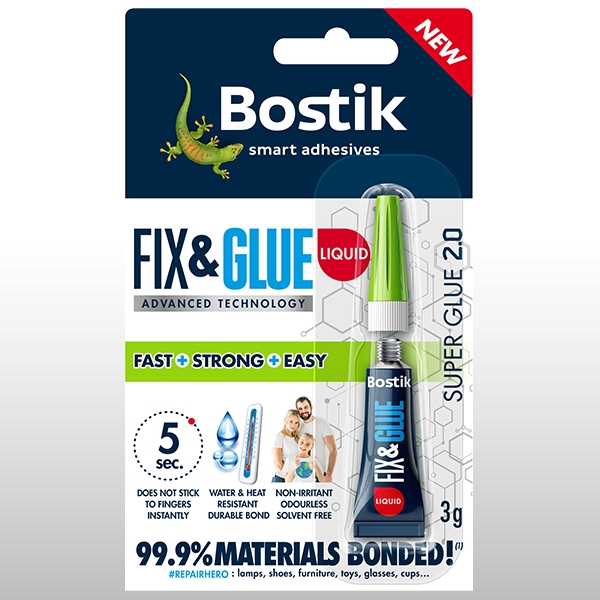
Bostik Fix & Glue is one of our best glues to repair plastic toys as it’s ultra strong, long-lasting and bonds to 99.9% of materials, making it ideal for toy repairs of all shapes and sizes.
Read on for our five simple steps for how to repair broken plastic toys. Don’t bin it, fix it and become an everyday #REPAIRHERO!
Tutorial overview
What you will need
- A plastic toy
- Bostik Fix & Glue Gel or Bostik Fix & Glue Liquid
Step 1: Clean the toy
Before you start your toy repair, you must clean and dry the area to be repaired to remove any dust, dirt or grease. If necessary, degrease the plastic with an alcohol-based cleaner.
Step 2: Glue the broken parts
Place a drizzle of our super glue for plastic toys on the area to be repaired.
Tip
Bostik Fix & Glue has a precise nozzle making it perfect for accurate application on even the smallest of areas, such as fiddly arms and legs on broken toys.
Step 3: Hold the two parts of your broken toy together
Once the glue has been applied, hold the two parts of your broken toy together for 5 seconds to ensure you create the initial bond.
Good to know
Both the Bostik Fix & Glue Gel and Bostik Fix & Glue Liquid are super glues that set in just a few seconds. So, unlike traditional super glues, they won't stick to your fingers immediately.
Step 4: Let the glue dry
Leave the super glue to dry for approximately 1 minute to ensure an ultra strong, long-lasting bond.
Step 5: You've completed your toy repair
That's it - you’ve learnt how to repair broken plastic toys and your once broken belonging looks as good as new!
As well as being used for plastic toy repairs, Fix & Glue bonds 99.9% of materials, so whatever it is your little one may have broken, don't bin it, fix it and become an everyday #REPAIRHERO.
Related tutorials
How to repair a rubber bracelet
Broken your rubber bracelet? You can easily learn how to repair a rubber bracelet in six, simple steps using our best glue for rubber, Fix & Glue.
How to easily repair a fabric or leather bag clasp with super glue
If your bag clasp or fastener is coming loose, it can become difficult to keep your items safe and secure. Instead of throwing your broken bag in the bin, a drop or two of glue can easily repair a…
How to repair a broken glass
You dropped a glass… and crack! It's broken. Don't throw it away, nothing is completely irreparable. Especially for a #REPAIRHERO like you! Bostik Fix & Glue is ideal for repairing broken glass -…
How to repair metal objects using super glue
Follow our step-by-step tutorial and learn how to repair metal objects like this metal ball pendulum. Don’t bin it, fix it and become an everyday #REPAIRHERO!

How to repair a broken ceramic vase
Catastrophe! You’ve dropped your favourite ceramic vase and it’s cracked. Instead of thinking you must bin your broken ceramic vase, you can easily repair it using one of our best glues for ceramic…
How to repair a broken wooden coat rack
Discover how to repair broken wood furniture like a wood coat rack with a drop of super glue. Use our guide and repair damaged wood furniture quickly & easily
How to repair the sole of your shoe
If your trainer's sole comes unstuck, it must be reattached to prevent the opening from widening. One tube of Bostik Fix & Glue will do the trick. With this instant glue, the repair will be…

